How to Properly Tie Hockey Skates
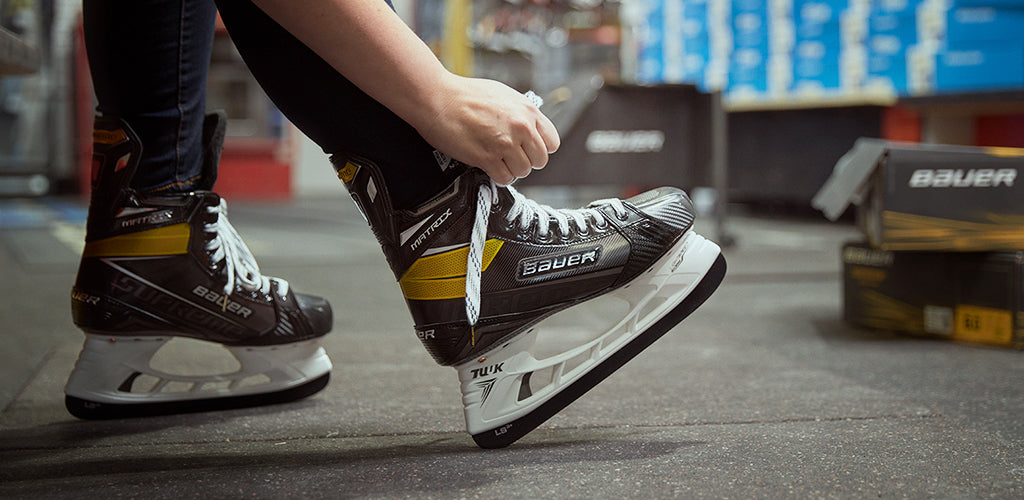
Did you know there’s a right way (and wrong way) to tie your skates? If you’re not tying your hockey skates properly, you’re not taking full advantage of the stabilizing and ankle-saving properties that your skates have to offer. Take the time to tie your skates correctly, in order to improve your performance and endurance on the ice. Here’s how our team does it:
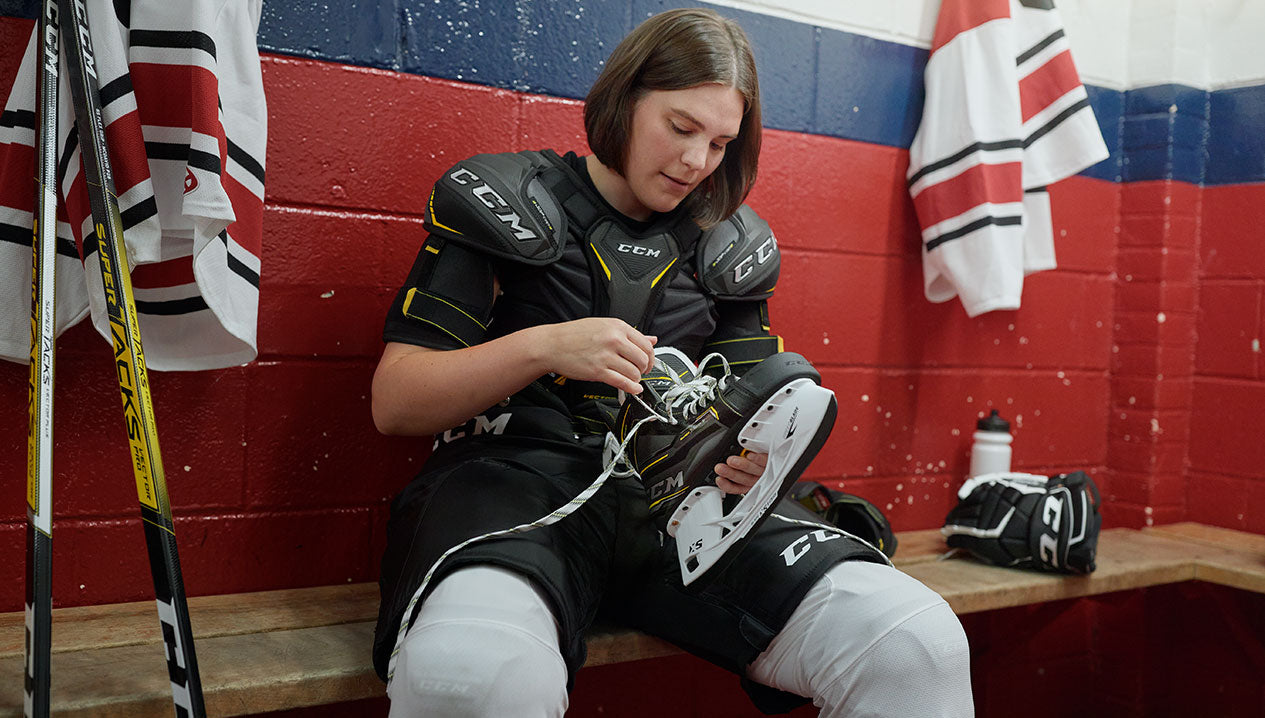
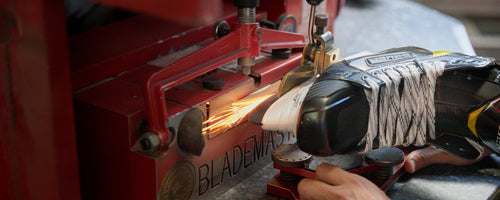
First, in order to tie your skates, you’ll want to have a seat on the bench. With your skate on a mat, press your foot firmly into your skate. Safety Tip: Make sure you have both skates on before you proceed with tying your laces. Skate blades are very sharp (especially when sharpened at Source For Sports) so, you’ll want to make sure your feet are protected at all times.
Feel free to start with whichever foot you’re more comfortable with and when you’re ready, take hold of the laces, one in each hand. Extend your leg just enough so that you can rest your weight on the heel of the skate with your toes pointed up.
Start with the laces closest to the toes by looping them around one or two fingers (on each hand) and on either side, pull up on the laces to tighten them as much as possible.
As you work your way up from your toes to the ankle, you may notice that the slack in the lace might start pulling on the top ends of the laces, causing them to be removed from the holes. If this starts to happen, it means that it’s time to take up the slack by pulling the laces back through the top holes (near the ankle)as much as you can.

Once you have tightened the laces all the way up to the ankle, using both hands grab each end of the lace, and draw them together in front of the skate to begin your knot. Safety Tip: Make sure your laces are the same length once tightened. If they’re not, your laces will not tie properly and will likely cause a tripping hazard during game play, leading to potential injury to yourself or others on the ice.
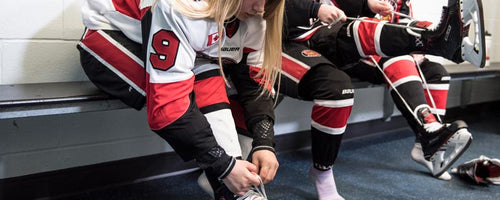
If you’re now ready to tie your knot, cross one lace over the other, loop it under and back out to the side (just like you would tie a shoe). Now, here’s where the trick is... Contrary to your shoelaces, you’ll want to repeat this motion a second time. Crossing the laces twice will lock the knot in place and keep it from sliding–even if the bow comes undone! Continue by pulling the laces firmly to the side, eliminating the space between your crossed laces and the top of the skate, allowing the crossed laces to lay directly on the top of the skate.
At this point, you’re ready and you should have enough length to tie yourself a bow (once again, just like tying a shoe), but you’ll want to make sure you double knot!
Shop All Hockey Skates
Did you follow all these steps and find your skates still aren’t feeling right? Come visit us in-store and find out about the Source For Sports Pro-Formance Advantage Custom Fitting System today.
Articles associés
Abonnez-vous au bulletin électronique de Source Nation pour découvrir, en cette saison sportive, des aubaines exceptionnelles, de nouveaux produits, ainsi que des conseils d'experts pour parents et joueurs.
